How to Install Ceramic Floor Tiles
11 October 2021
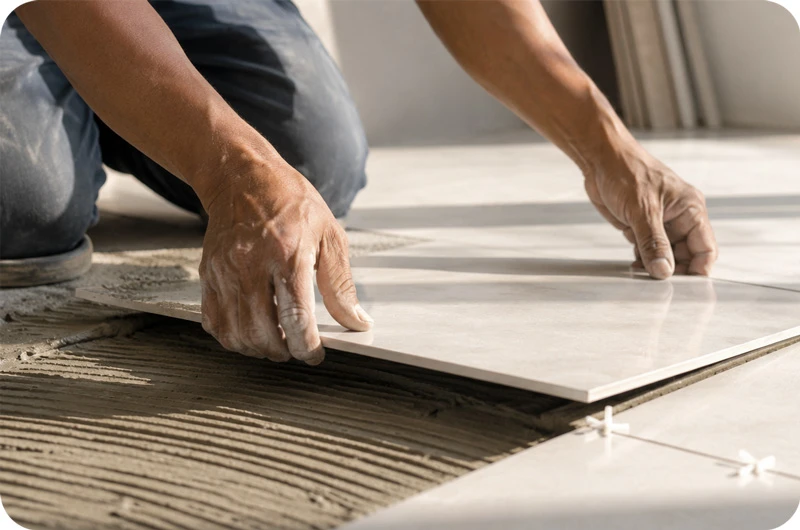
Here are some tips on installing ceramic floor tiles, for anyone taking on a tiling project. These tips apply whether you’re installing standard wall tiles, diagonal tile patterns, or tiling over existing tiles.
Easy steps for installing ceramic floor tiles:
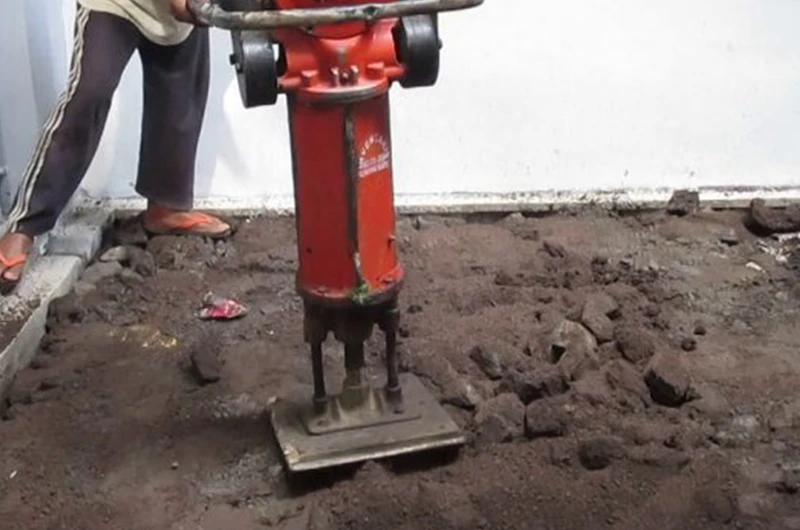
- Compact the soil (for ground-floor installations) using manual tamping or a plate compactor.
- Set string lines according to the measured level. After that, apply a screed / working floor layer… For a single-story house, a 5 cm thick concrete screed works well, followed by a 5 cm sand fill layer on top.
- Once the screed / working floor has dried (at least 3 days), re-level the surface, then run string lines to mark the height for tile installation matching the planned pattern.
Next Step: Installing the Floor Tiles
- Prepare the adhesive mix, making sure RK-480 instant cement (Tile Adhesive) is fully blended. Spread evenly up to the tile height.
- Align tile corners using a wood block (preferably tapped with a rubber mallet). Once seated, wipe away excess adhesive. Wait at least 3 days before grouting.
- Installing floor tiles follows the same principle as wall tiles — wall tile adhesive uses only cement and water.
When installing wall tiles:
- Check verticality of wall tiles using a plumb line. Use a quality instant cement such as RK-480 from RK Mortar.